Timeline#
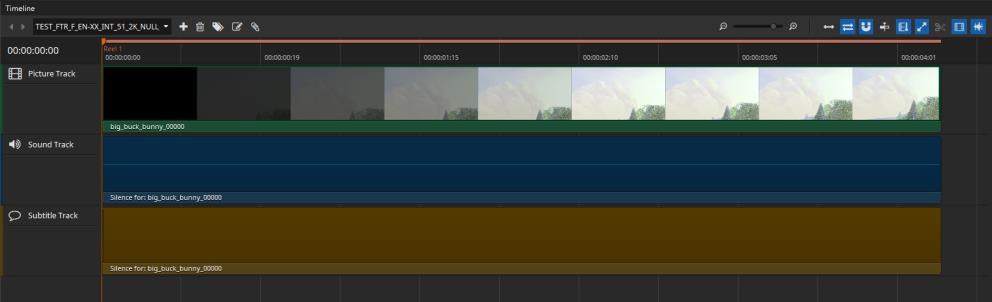
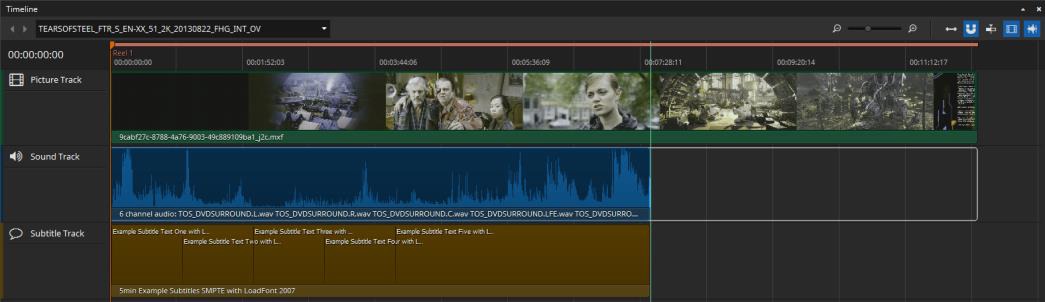
The Timeline was introduced in easyDCP Creator 3.5.0 with a first set of features. You are able to preview your compositions and edit offsets and durations. It can display picture, audio and timed text tracks. Audio tracks can be shown both as combined waveform and with the channels split up.
For DCP packages you can decide whether to use the Composition Manager or the Timeline.
Update 4.3.0#
Until easyDCP version 4.2.6 the option to switch between reel view and timeline view was located only in the View menu. As of version 4.3.0, we’ve added a default setting for this to the Options menu.
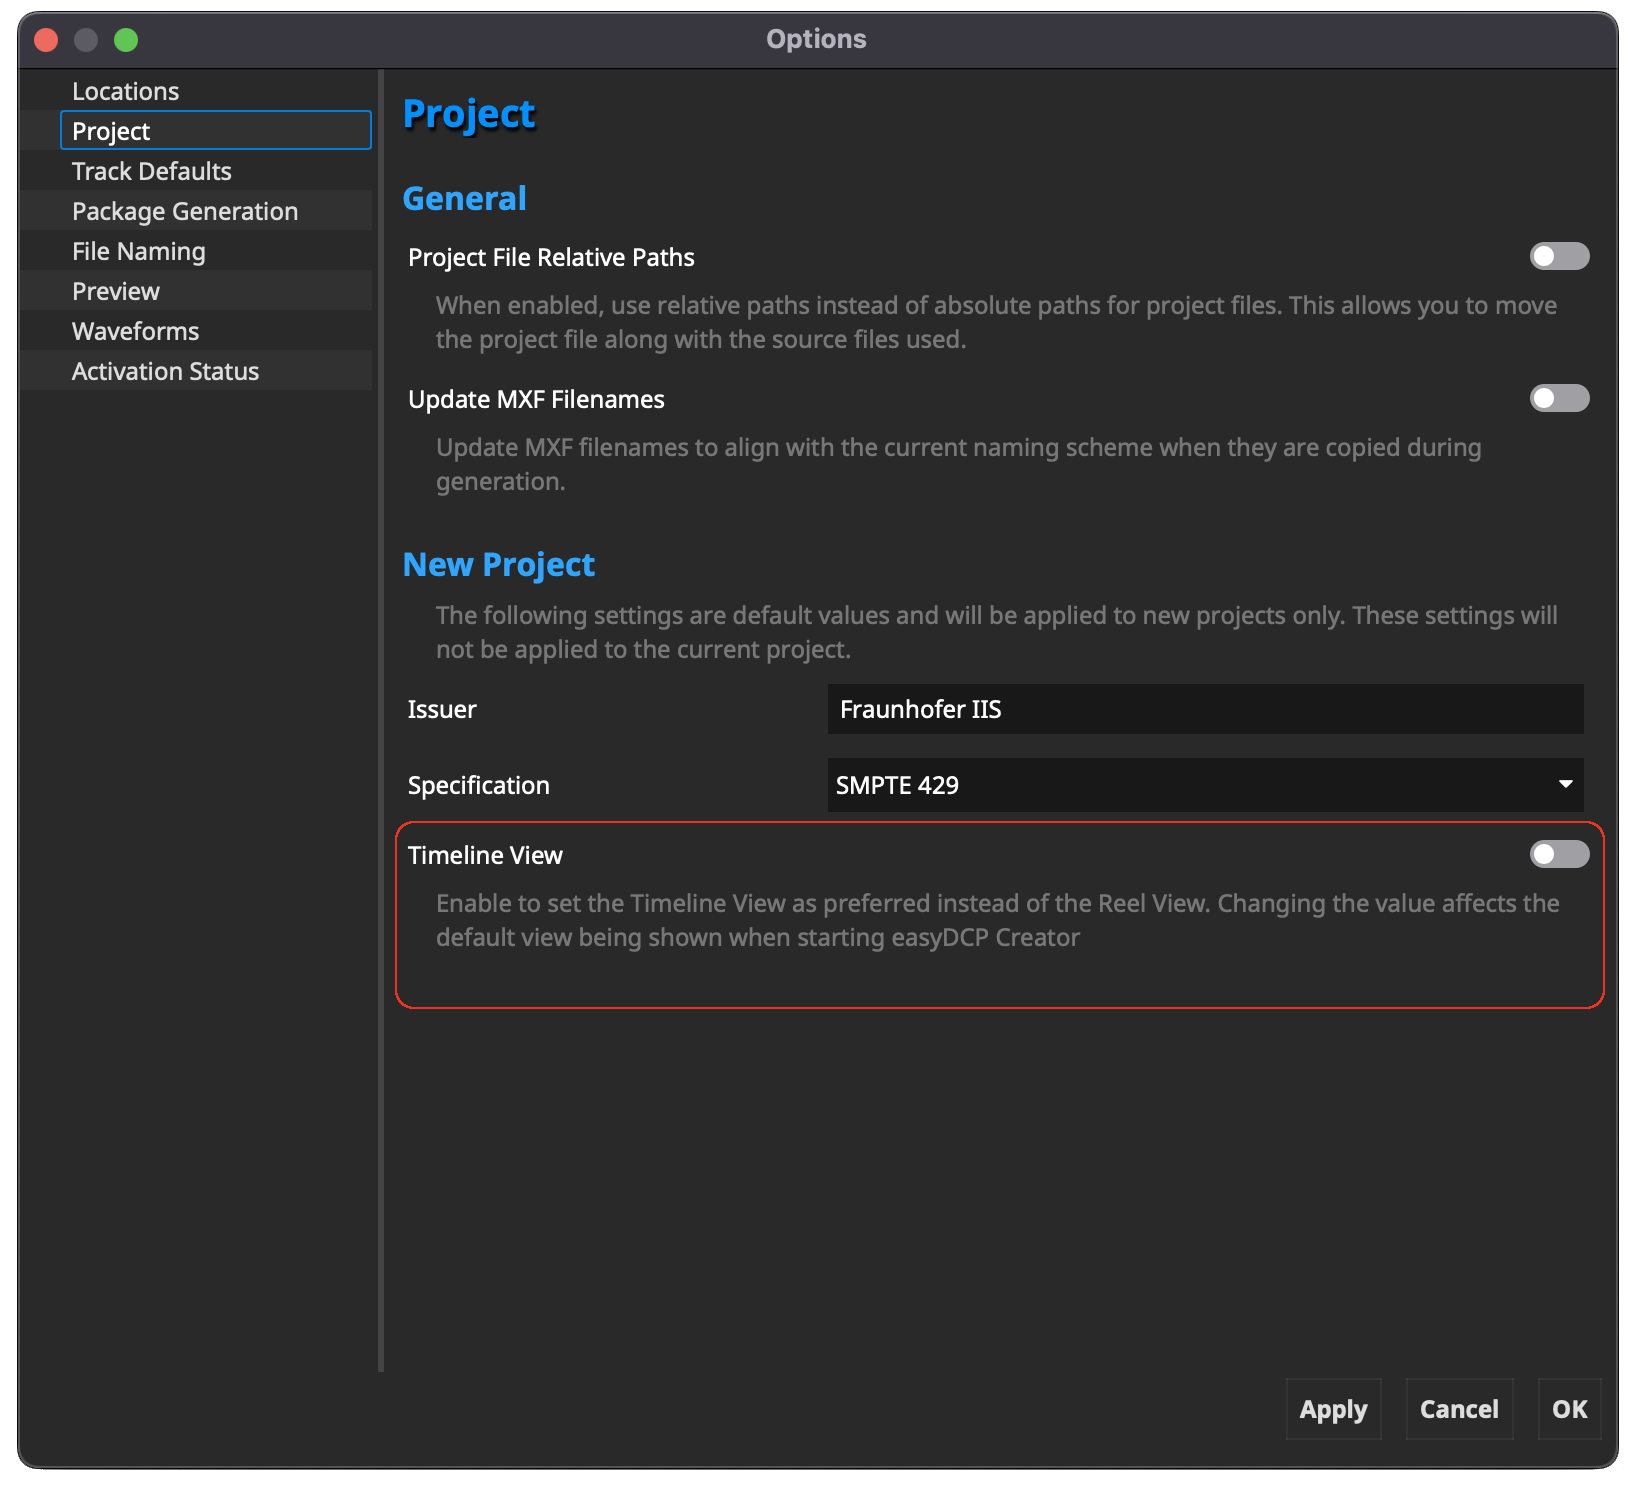
This toggle defines the startup setting for your project. If set to timeline view, easyDCP Creator will always start on the timeline view. Remember to save and re-load your project for the change to take effect.
Timeline Controls#
Time Code Edit
The time code on the left side of the timeline is clickable and allows to jump directly to a specific time code. When it is selected it becomes blue and accepts all keys from 0 to 9. Pressing enter will accept the input and jump to the position in the timeline. It is also possible to start the editing via Ctrl + G after clicking the timeline once.
Composition List
With the box on the upper left of the Timeline, you can choose the composition to be previewed in the Timeline. You can either select it using the combo box or navigate through them with the arrows on the left.

- Add Composition
Adds a new composition.
- Delete Composition
Deletes the composition that is currently selected for preview in the timeline.
- Duplicate Composition
Clicking this button duplicates the current composition. In the popup you have the possibility to reference the same track files as in the original or to duplicate them.
- Editing Composition Properties
- Zoom
Use the slider to define the zoom level of the timeline. You can also zoom using “CTRL + mouse wheel” while the mouse is over the timeline.
- Zoom to fit
Shows the entire timeline in respect to the available space in the user interface.
- Ripple edits for later items
Moves later items together with the currently selected clip.
- Snap to clip borders
Helps to properly align different tracks in the timeline. If it is necessary to align the duration of a video clip to the shorter duration of a given audio track, you can simply reduce the length of the video track by clicking on the right edge of the longer track file and moving the mouse to the left. Once the mouse pointer gets close to the end of the shorter track, the size of the current track will snap to the same length if snap to clip borders is activated. Once triggered, the snap feature will also show a red vertical line at the boundary of the tracks it is currently aligning.
- Center view on play head
Auto-aligns the timeline so the play head is placed in the center.
- Split sequence
Splits the sequence containing the playhead marker at the playhead marker position into two reels and adjusts their offsets and duration to fit the original length. Only selected clips that contain the playhead are split, so it’s possible to split just picture while keeping sound one clip.
- Render reels
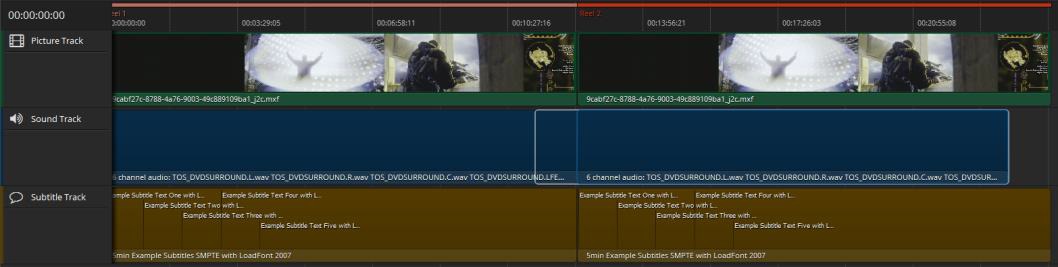
In order to know where you’re reels/segments will be split you can toggle rendering of reels on. This will display the reel markers in ascending order on top of the timeline with slightly alternating colors.
- Render thumbnails
If active, thumbnails will be rendered for all video tracks in the timeline.
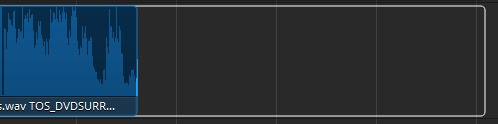
- Render waveforms
If active, a visual representation of each audio track will be displayed in the timeline. Depending on the length of the audio tracks the rendering of the waveform for the first time can take a while.
Navigation
Using arrow key left and right allows for frame wise stepping in the timeline. With arrow up and down it is possible to jump to the next/previous clip in the timeline.
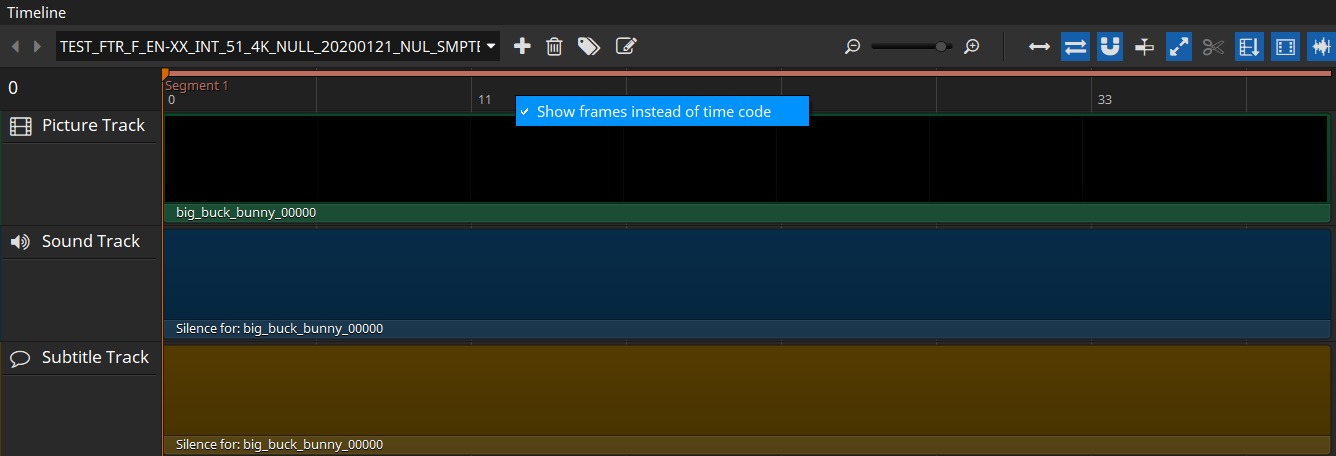
Switching between time codes and frames
With a right-click into the empty space of the timeline a context menu opens. There you can switch between the time code representation in the timeline and frames.
Editing in the Timeline#
The Timeline supports editing of offsets and durations of the Tracks, rearranging sequences, drag & drop of tracks and files and functionality to split sequences and insert tracks in between.
To edit the offset (entry point) of a track, just drag the left border of it. The offset is directly updated in the Metadata Window. Dragging to the left reduces the offset (if not already at 0), while dragging to the right will increase the offset as long as possible.
To change the duration of a track, drag the right border. Dragging to the right will increase the duration while dragging to the left will shorten the track.
Both offset and duration are directly updated in the Metadata Window. The maximum offset/duration depends on the tracks and the project type (DCP 1 second).
To add new tracks to the timeline it is possible to drag a track from the track manager directly on the timeline. The track can be inserted in between two existing sequences. To make an insert in an existing reel/segment for creating supplemental DCPs drop at the position on select “Insert” in the context menu. This will split the existing clip in the timeline at the mouse position and insert the new clip resulting in a total of three clips instead of the previous one with all offsets and durations being automatically adjusted.
Rearranging clips is also possible. Clips in the timeline can’t overlap and will automatically be reset to their origin position when dragging started. But when dragging a clip in between two others everything left will be moved left (when coming from the left side) or right (when coming from the right side).
Appending/prepending black frames#
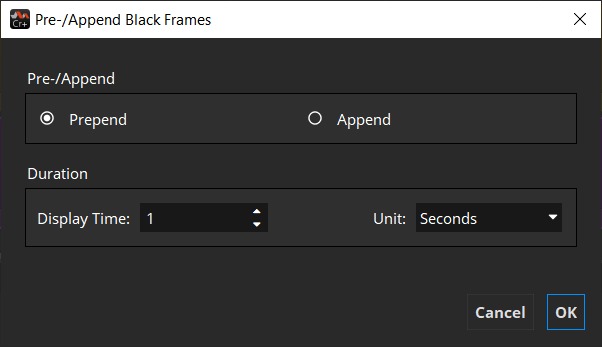
For some purposes it’s necessary to add black frames before or after a reel/segment. To do so right-click the picture track file.
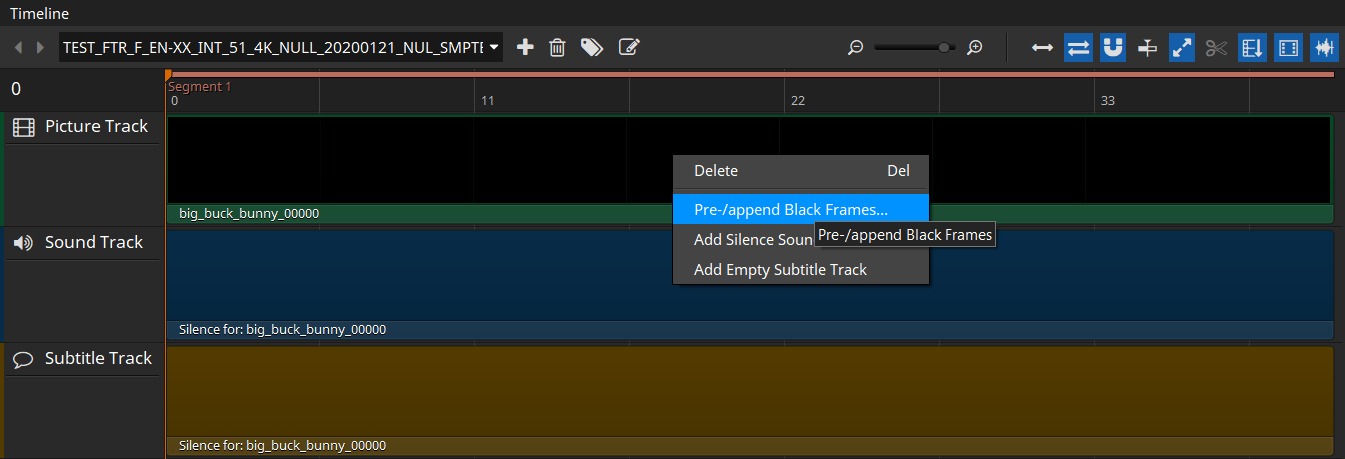
In the dialog that will open up next you can select whether you want to prepend or append to the reel you right clicked on. You can also select how many frames/seconds of black frames you want to prepend/append.
Adding Silence Sound#
As in the compositor it’s also possible to add silence sound in the timeline. When no clip is selected the silence track is added to the clip you right click on. If you have selected a clip or multiple ones, the silence sound track will span all of them. This will automatically be split up again into reels.


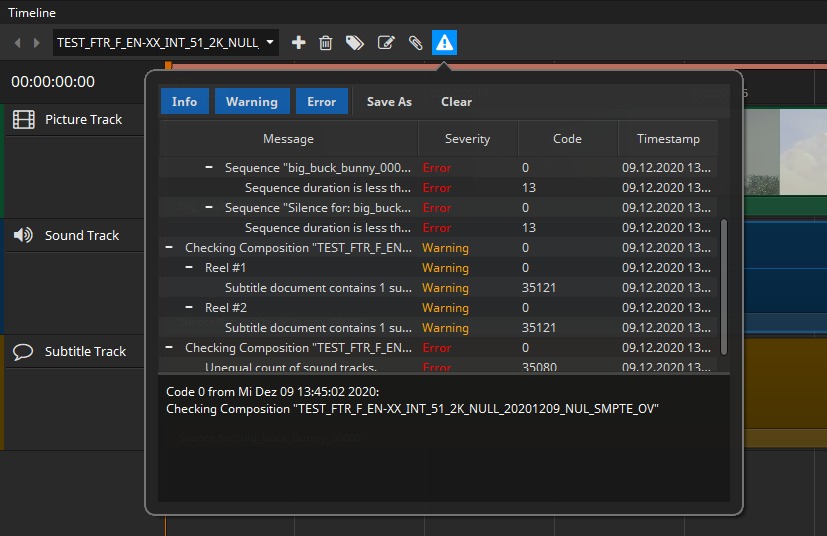
Timeline Validation#
Every once in a while the current timeline is validated so you can see if your project is valid and can be generated. In case of errors or warnings, a warning symbol appears in the toolbar. Clicking it opens a popup containing detailed information about what’s wrong.